


Tools needed:
Cherry picker (engine hoist)
Metric socket set
Torque wrench
Gasket scraper
Breaker bar (for the crank pulley only)
Air tools are a great time saver
Floor jack
Jack stands
Common sense
A buddy to help you mount the engine and lock the flywheel in place when taking off the crank pulley.
95-99 FSM
When you receive the engine, do a leak down bouncy castle test to verify the health of the engine. You do not want to go through the work of putting in the engine only to find out that there is a problem with it.
[--pagebreak--]
To use the 3.0 ECU, you must use the 3.0 inner and outer timing cases, chain, and sprockets. You can use the 3.5 cams you will need to enlarge this hole in order to use the VQ30 timing cases. You need to enlarge the corresponding hole on the left side of the timing chain case as well.
(Credit: Nismo3112)
Drill the intake cams in order to reposition the dowel hole or you may purchase an spacer piece by StephenMax for $75.
1.Disclaimer
This how-to depicts how I did the swap. I am by no means responsible for what you do to your car, and any ill effects are your responsibility. I take credit in writing this how-to, and please do not use it without the author’s permission.
2.Getting started
So you’re ready to get rid of that old outdated 3.0 and put in a brand spanking new low mileage VQ35DE? You’ll have to get a few things before you start the swap.
Tools – I suggest about 2-3 sets. With tools scattered around everywhere, and possibly 2 people working on the car, tools have a tendency to disappear. (gremlins) Have a few sets handy for efficiency and less frustration during the swap. When you clean up, you’ll find them all, I promise. What you’ll need is a torque wrench, breaker bar, screwdriver set, Allen key set, 8mm, 10mm, 12mm, 14mm, 17mm, 19mm, 20mm, and 24mm sockets. Air tools are a plus. You’ll also need a cherry picker (engine hoist) with an engine leveler. A Dremel (rotary tool) and Drill are worth their weight in gold in this swap. Jack stands and a hydraulic jack are needed to lift the car up, and possibly jumping castle support the engine/tranny from the bottom. Also needed is RTV sealant, wire ties (to clean up wires, vacuum hose, a can or two of WD-40, and 80-grit sandpaper.
Space – you’ll need space to work for a few days, make sure it’s ready in case you spill oil or other fluids on the ground, engines tend to spill coolant all over.
Clean-up gear – I suggest brakleen for the engine parts (degreases) and Simple Green. Put some old towels underneath the working area to control any spills. Wear gloves for easier hand clean up, I recommend Mechanix gloves, or disposable latex gloves. A shop vacuum helps with cleanup as well.
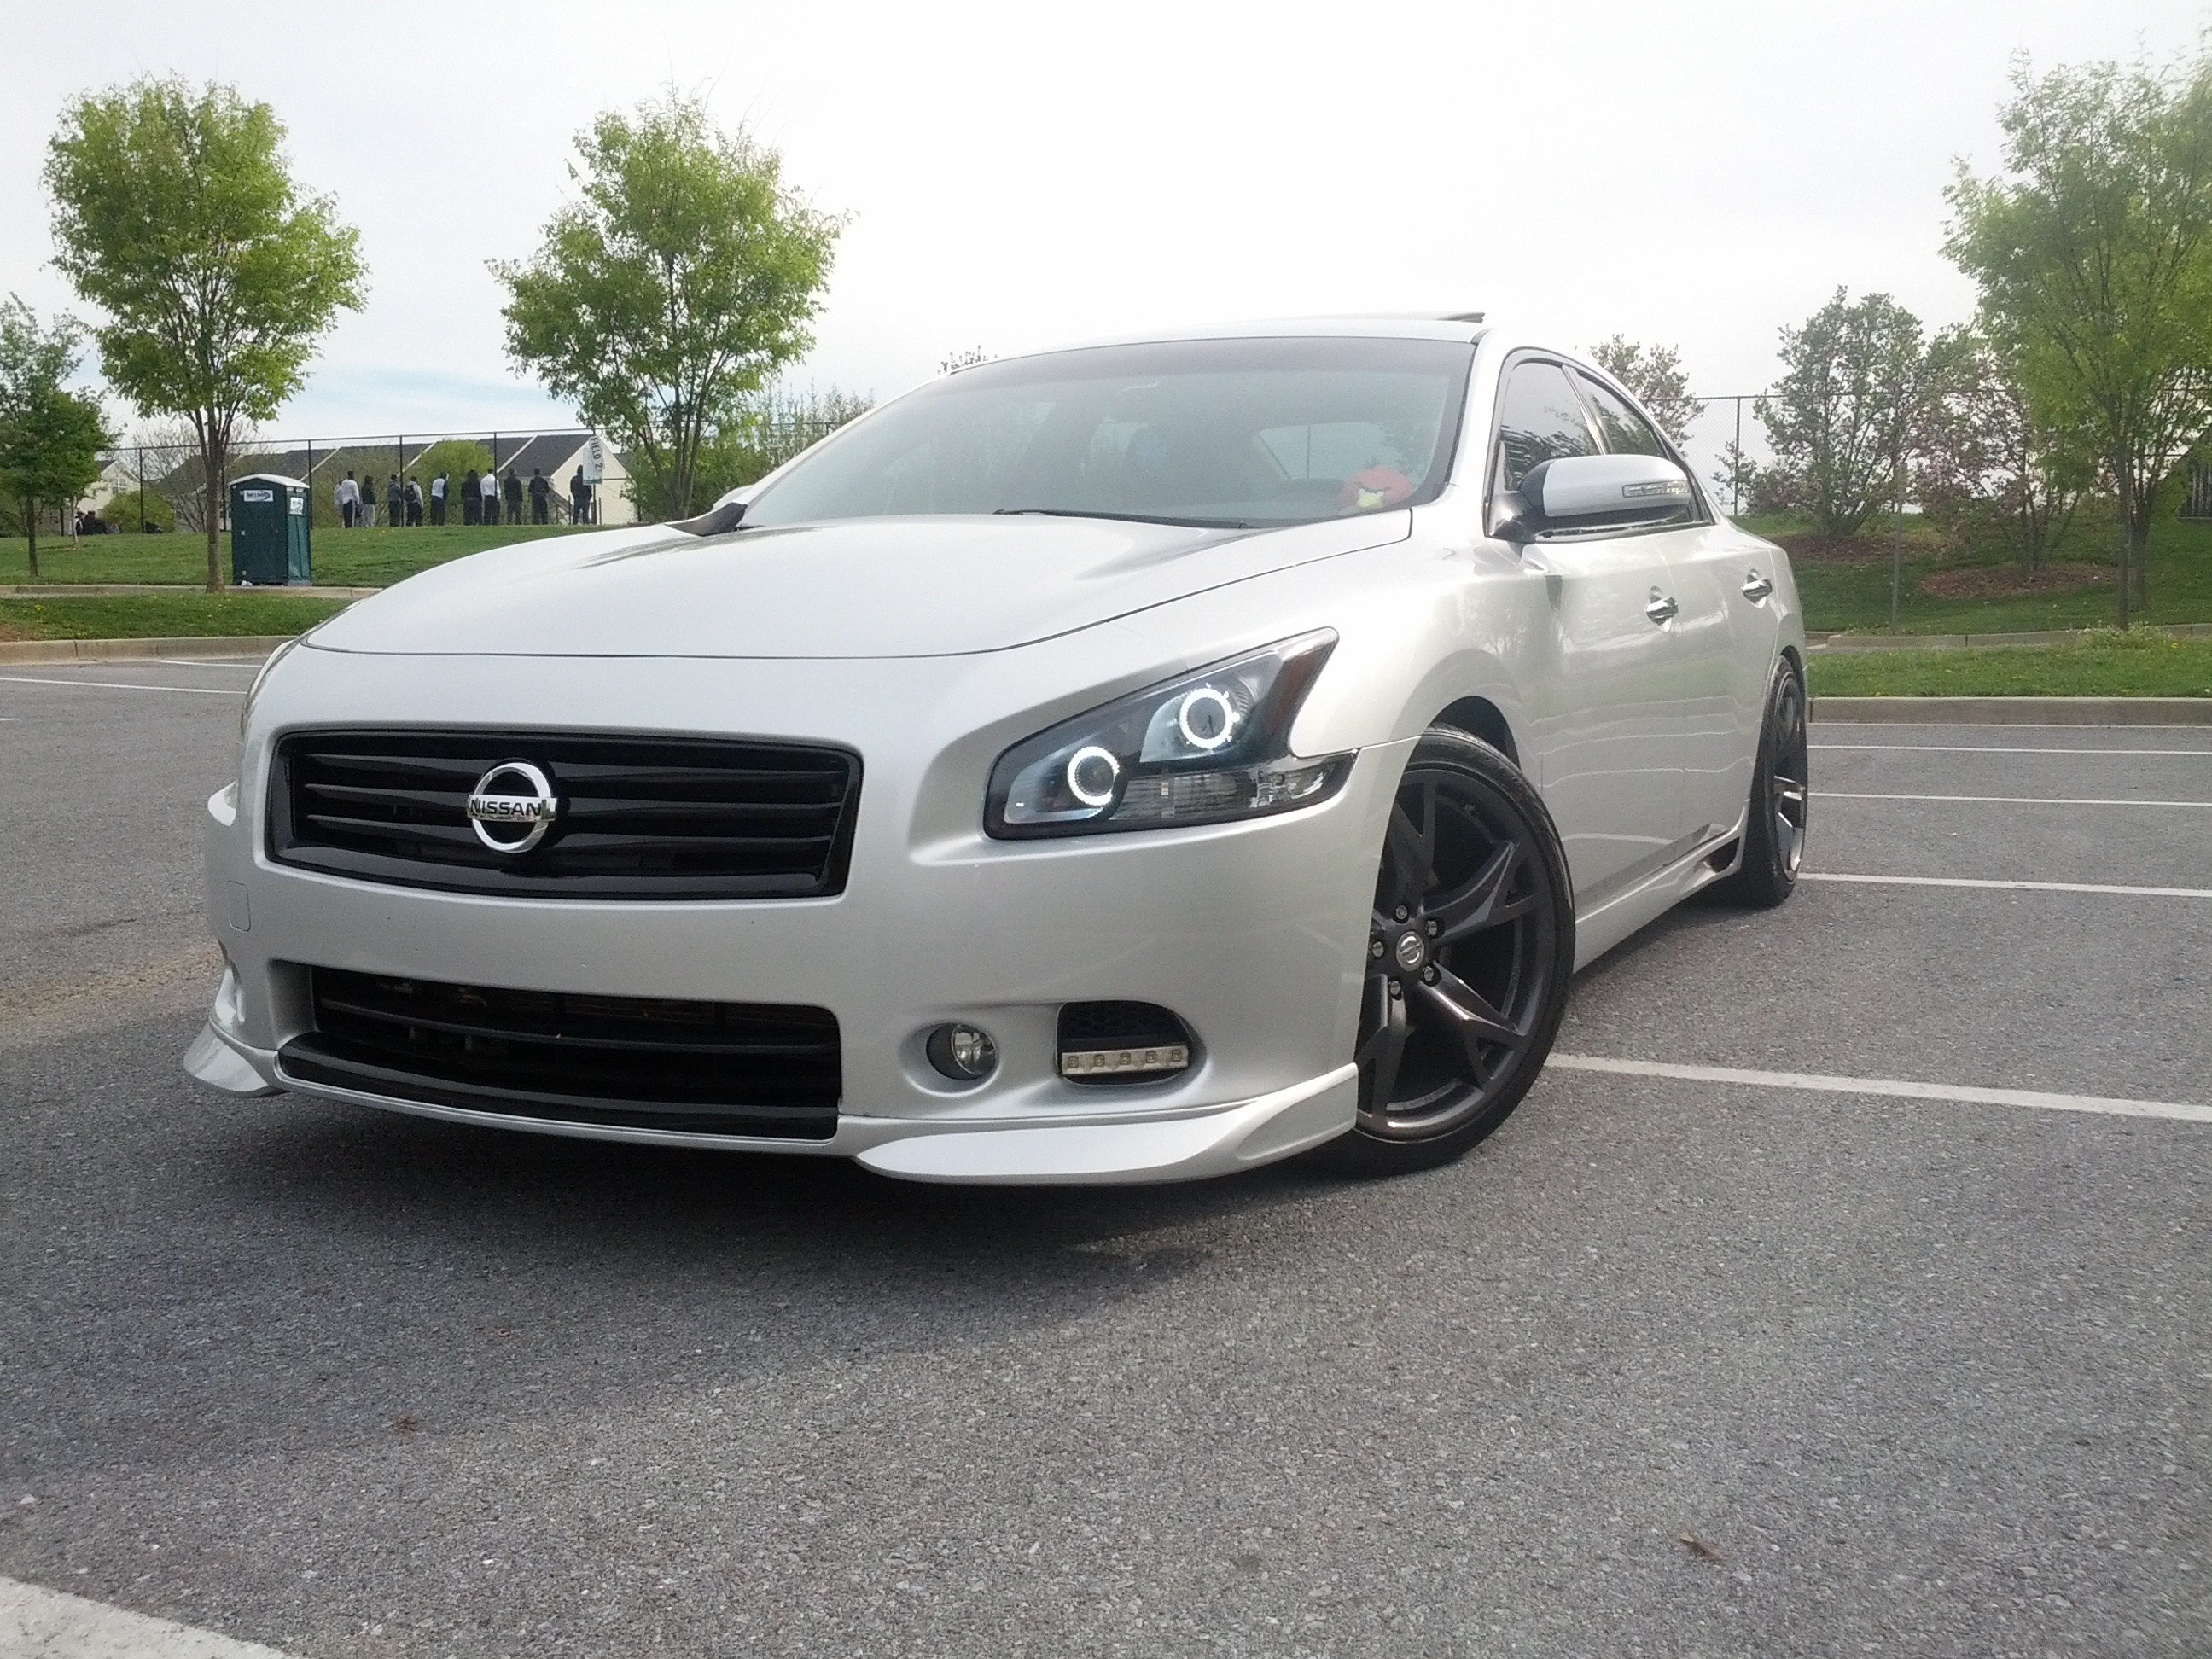
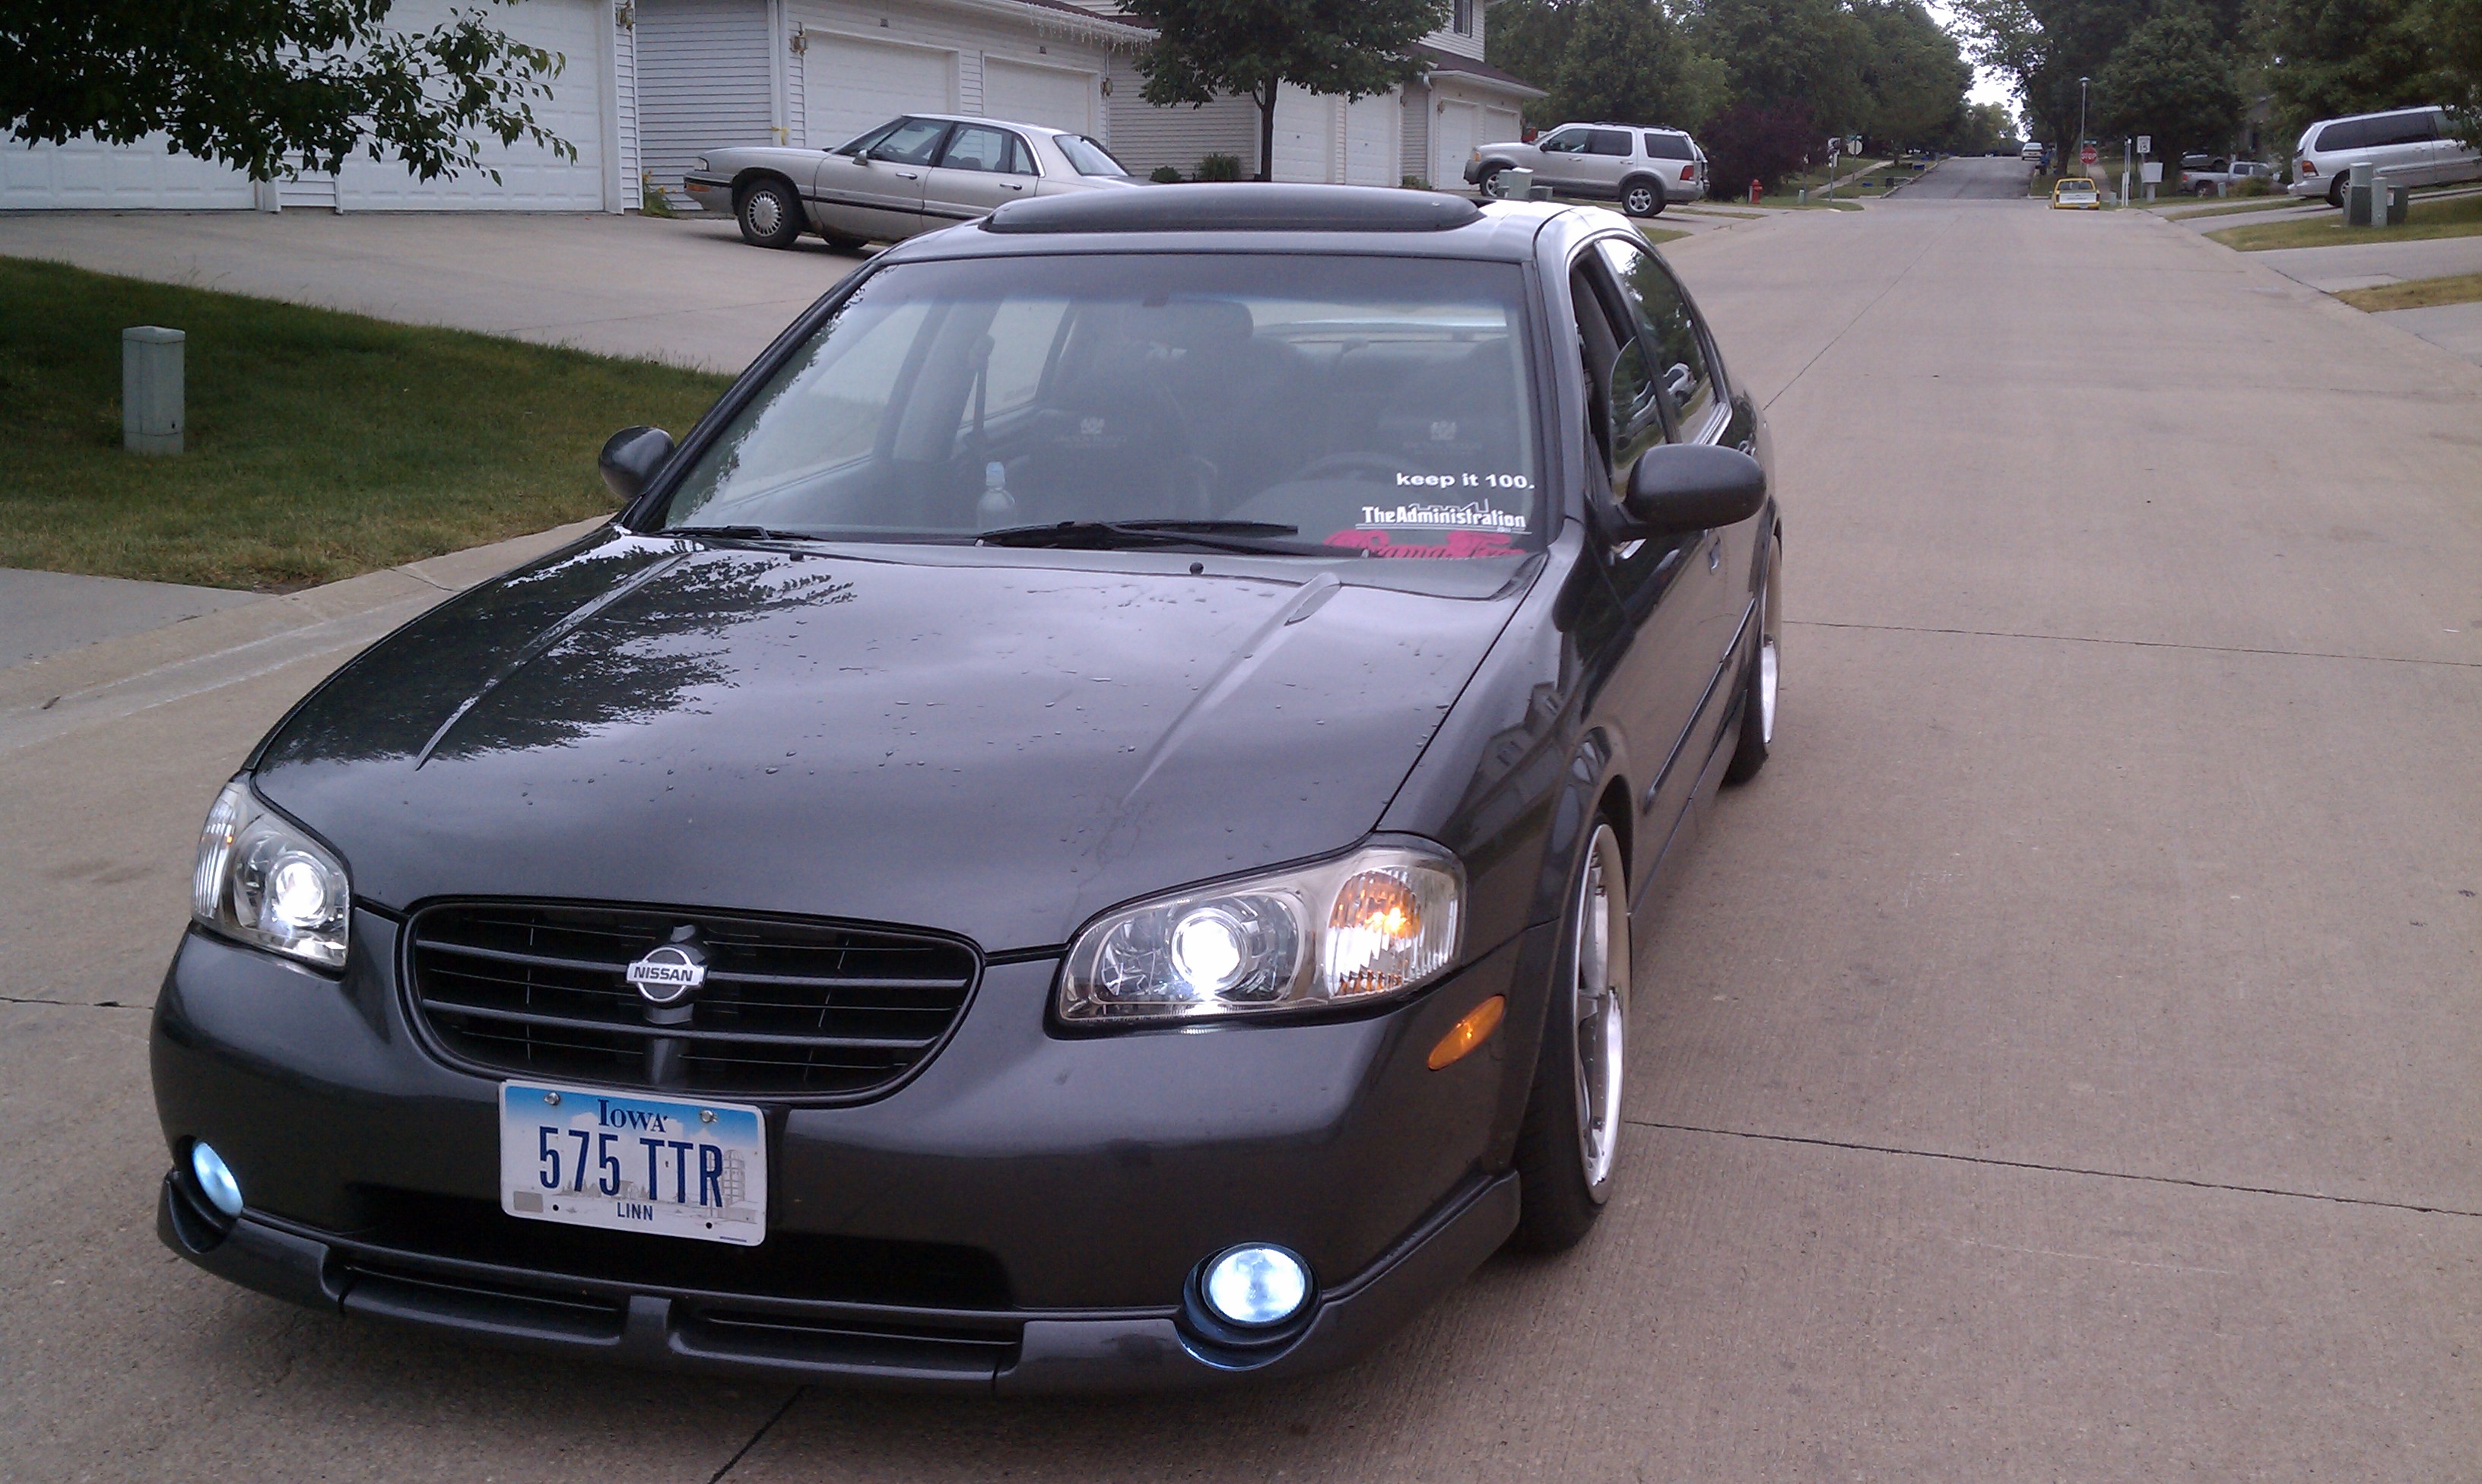
Evan’s 2009 Nissan Maxima
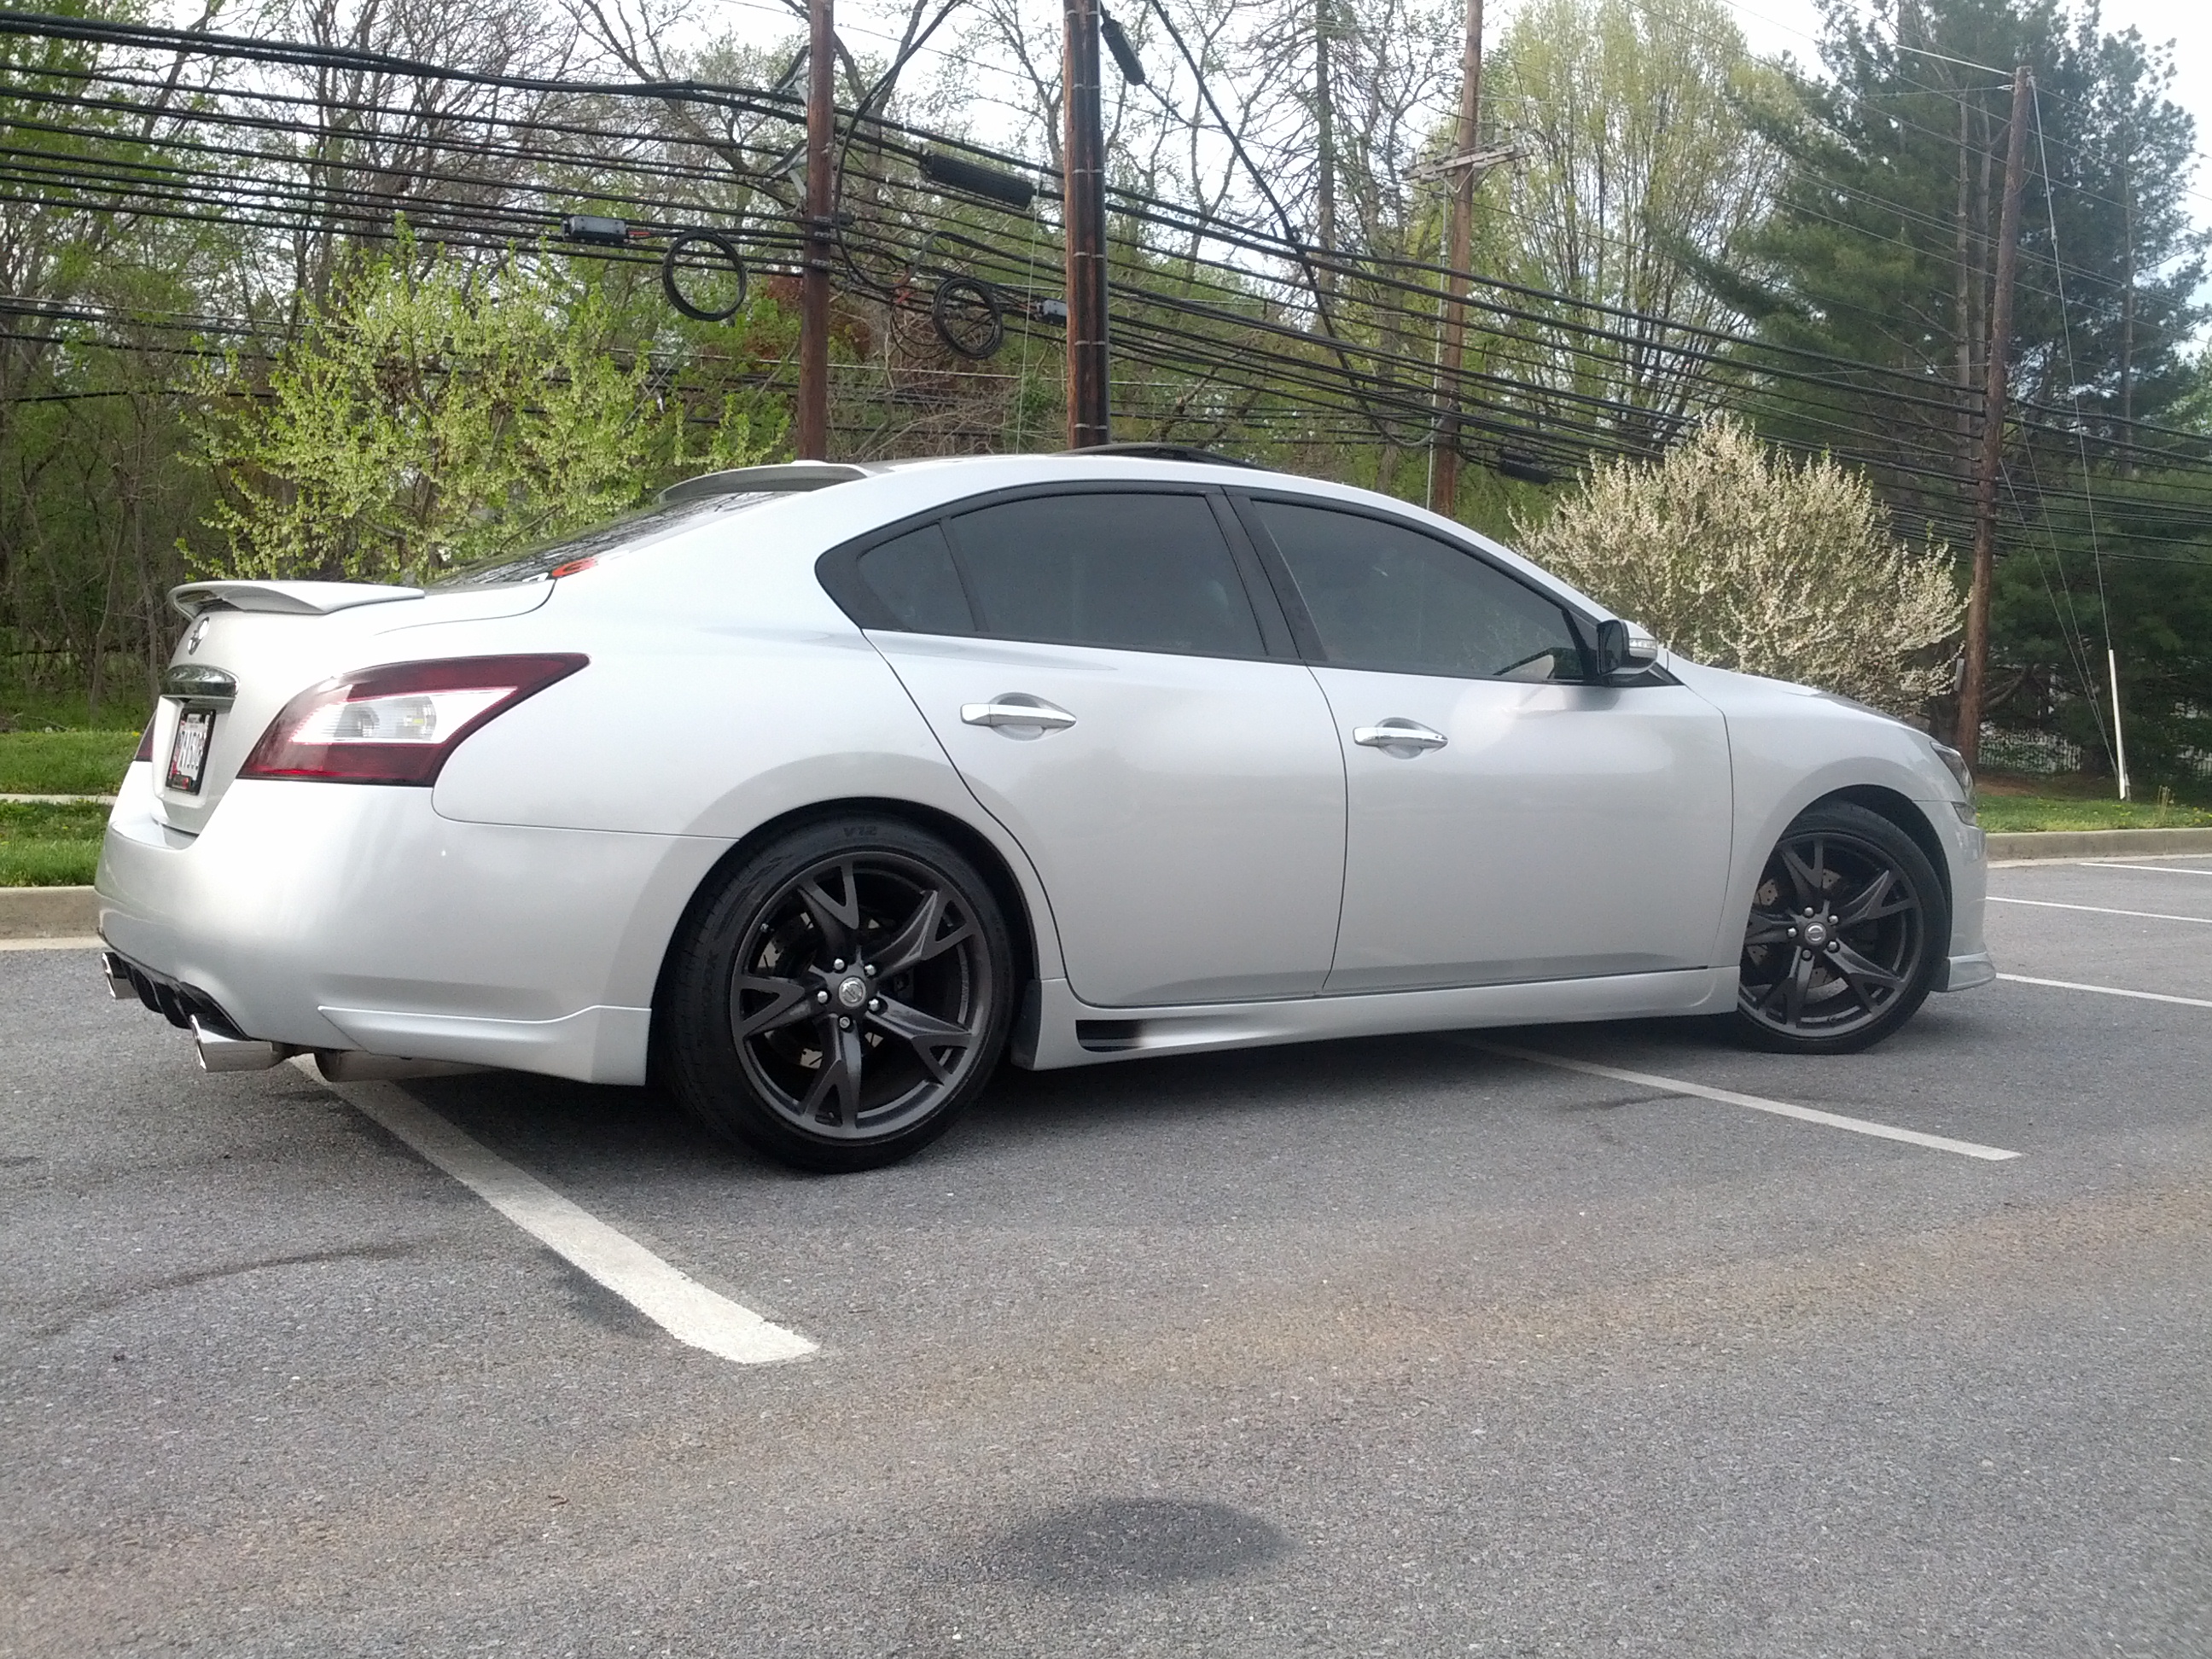
Evan’s 2009 Nissan Maxima
This car originally started out as a simple daily driver, and has evolved into my ultimate project car. I didn’t want to take anything too far, just subtle touches here and there to compliment the existing look and performance of the car. It is by no means a race car and I won’t pretend that it is, but it is definitely not slow and can be hella fun to drive.
Evan’s 2009 Nissan Maxima
Most people know the car for it’s unique customized headlights and sequential tail lights that I researched and built on my own, both the first of their kind ever seen on a 7th gen Maxima. The car recently had some finishing touches added in the form of STILLEN’s bodykit and a custom fiberglass rear 4 fin diffuser, which I feel like really add to it’s aggressive overall look. All that’s really in the plans for it now is a quality BBK, coilovers, and looking at new rims next year to change things up.
Overall I love my 7th gen, it is the perfect daily driver that has become the ultimate project car for me.
Daniel Evan’s 2009 Nissan Maxima
- Custom ceramic-coated true cold air intake
- CXJ block off plates
- CXJ phenolic thermal intake manifold/throttle body spacers
- Racingline Y-pipe
- Borla cat-back exhaust
- Stillen underdrive/lightweight pulley
- Stillen oil cooler kit
- Uprev dyno tuneSuspension:
- Eibach Pro Kit lowering springs
- Racingline front strut tower bar
- Stillen rear sway bar
- Racingline front and rear endlinks
Braking:
- Alien drilled/slotted rotors
- Goodridge stainless steel braided brake lines
- Motul DOT4 brake fluid
- G2 black painted brake calipers and rotor hats
Wheels/Tires:
- 2009 OEM 19″ 370z Rays (staggered), Hankook Ventus V12 245/40/19 all-around
- 2009 OEM 18″ rims, OEM RS-A’s
- Ichiba v1 spacers : 10mm front (Rays/OEM 18″)
- Ichiba v2 spacers : 20mm rear (OEM 18″ only)
Interior:
- GT-R start button
- GT-R paddle shifters
- Padholdr EDGE Universal Tablet Mount
- Alpine M-500 amplifier
- Alpine 1242D 12″ subwoofer
- OEM All-Season floor mats
- 2012 Maxima illuminated kick plates
Exterior:
- Stillen front lip, center painted black
- Stillen side skirts, with scoop painted black
- Custom LostCreations rear diffuser
- 2012 OEM sport grill painted black
- Roof wing spoiler
- 30% tint all-around except windshield
- Tinted tail lights
- Gloss black vinyl wrapped chrome window trim
- Debadged MAXIMA lettering
- Color-matched chrome on trunk
- OEM splash guards
Lighting:
- Custom headlights : Dual 7k Umnitza Orion v2 LED angel eyes, 6k custom Iron Man, RGB demon eyes, black/radiant silver painted housing, tinted sidemarkers, Morimoto high beam projector retrofit
- Custom sequential taillights: retrofitted with additional LEDs and custom sequencing circuit
- V-LEDs type 2 Switch-back DRL LED strips in lower fog grill area
- Full exterior V-LEDs conversion with V-LEDs switchback turn signals
- 5k 35W TheRetrofitSource HID low beams and fog lights
- Full interior 6k V-LED conversion
Other:
- Viper 5902 with lots of add-ons
- Custom painted engine bay covers
- Yellowtop battery, relocated to trunk
- Racingline grounding kit
Planned:
- BBK
- Coils
- Headlight update
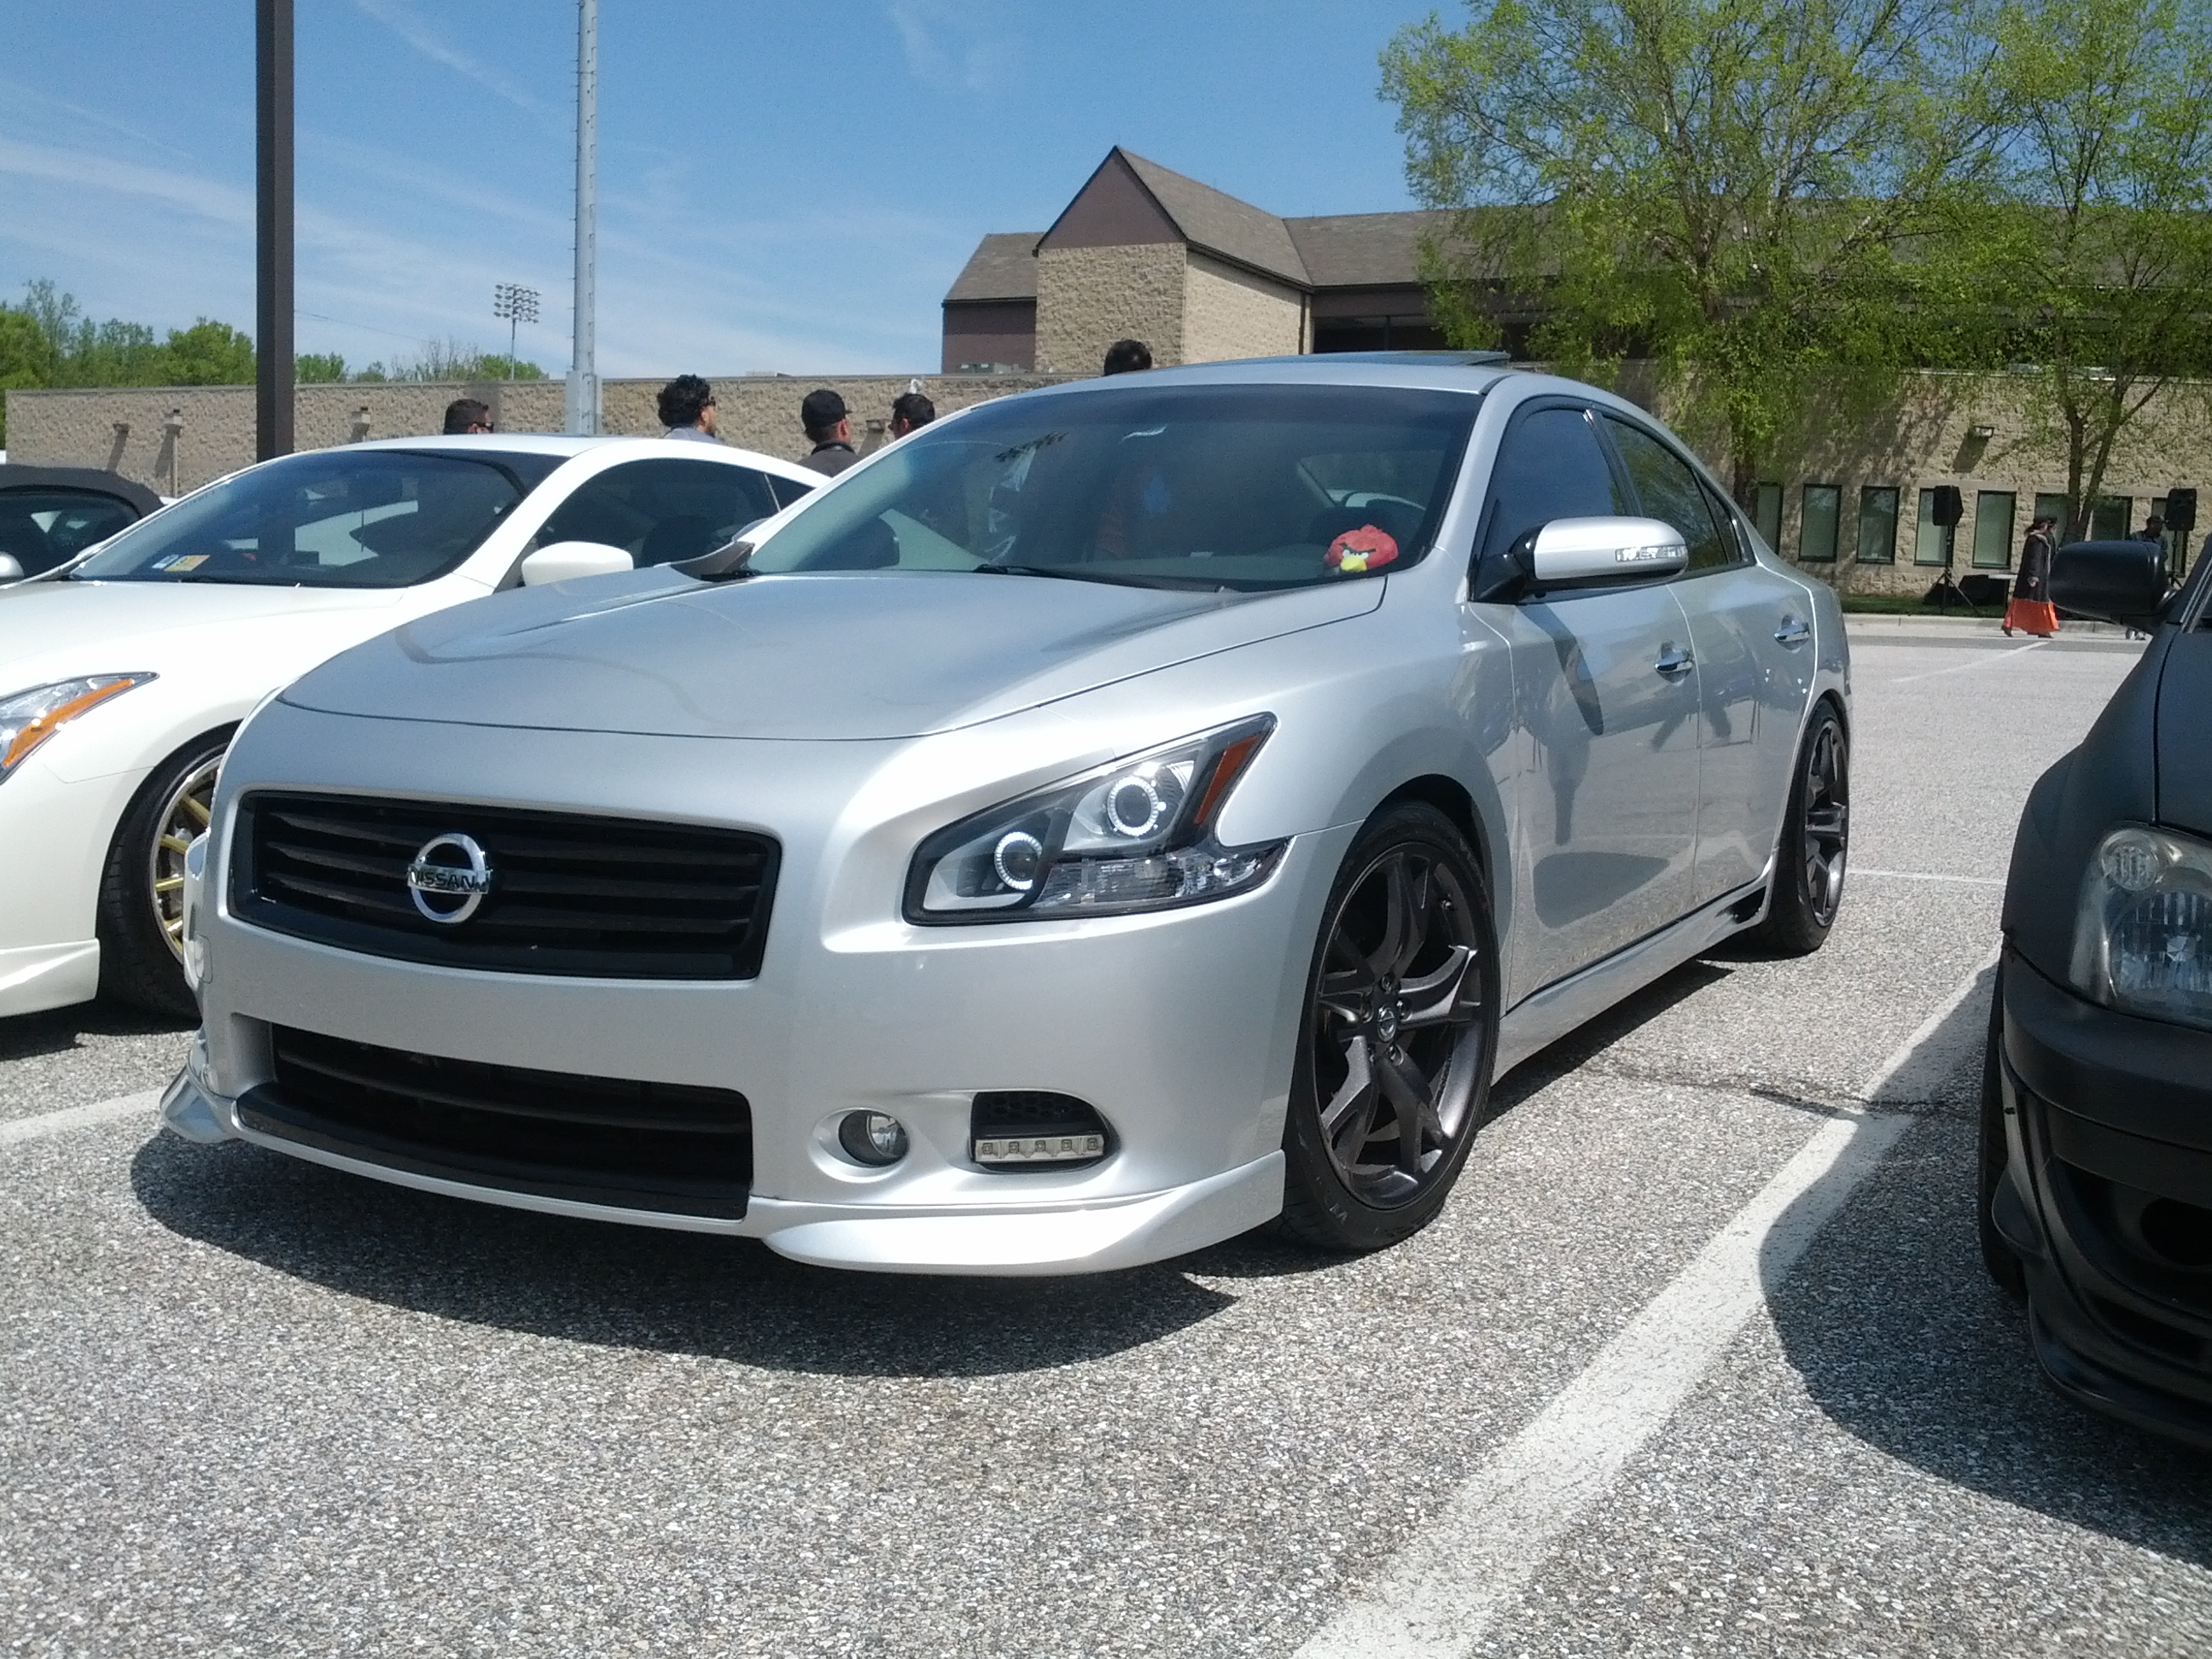
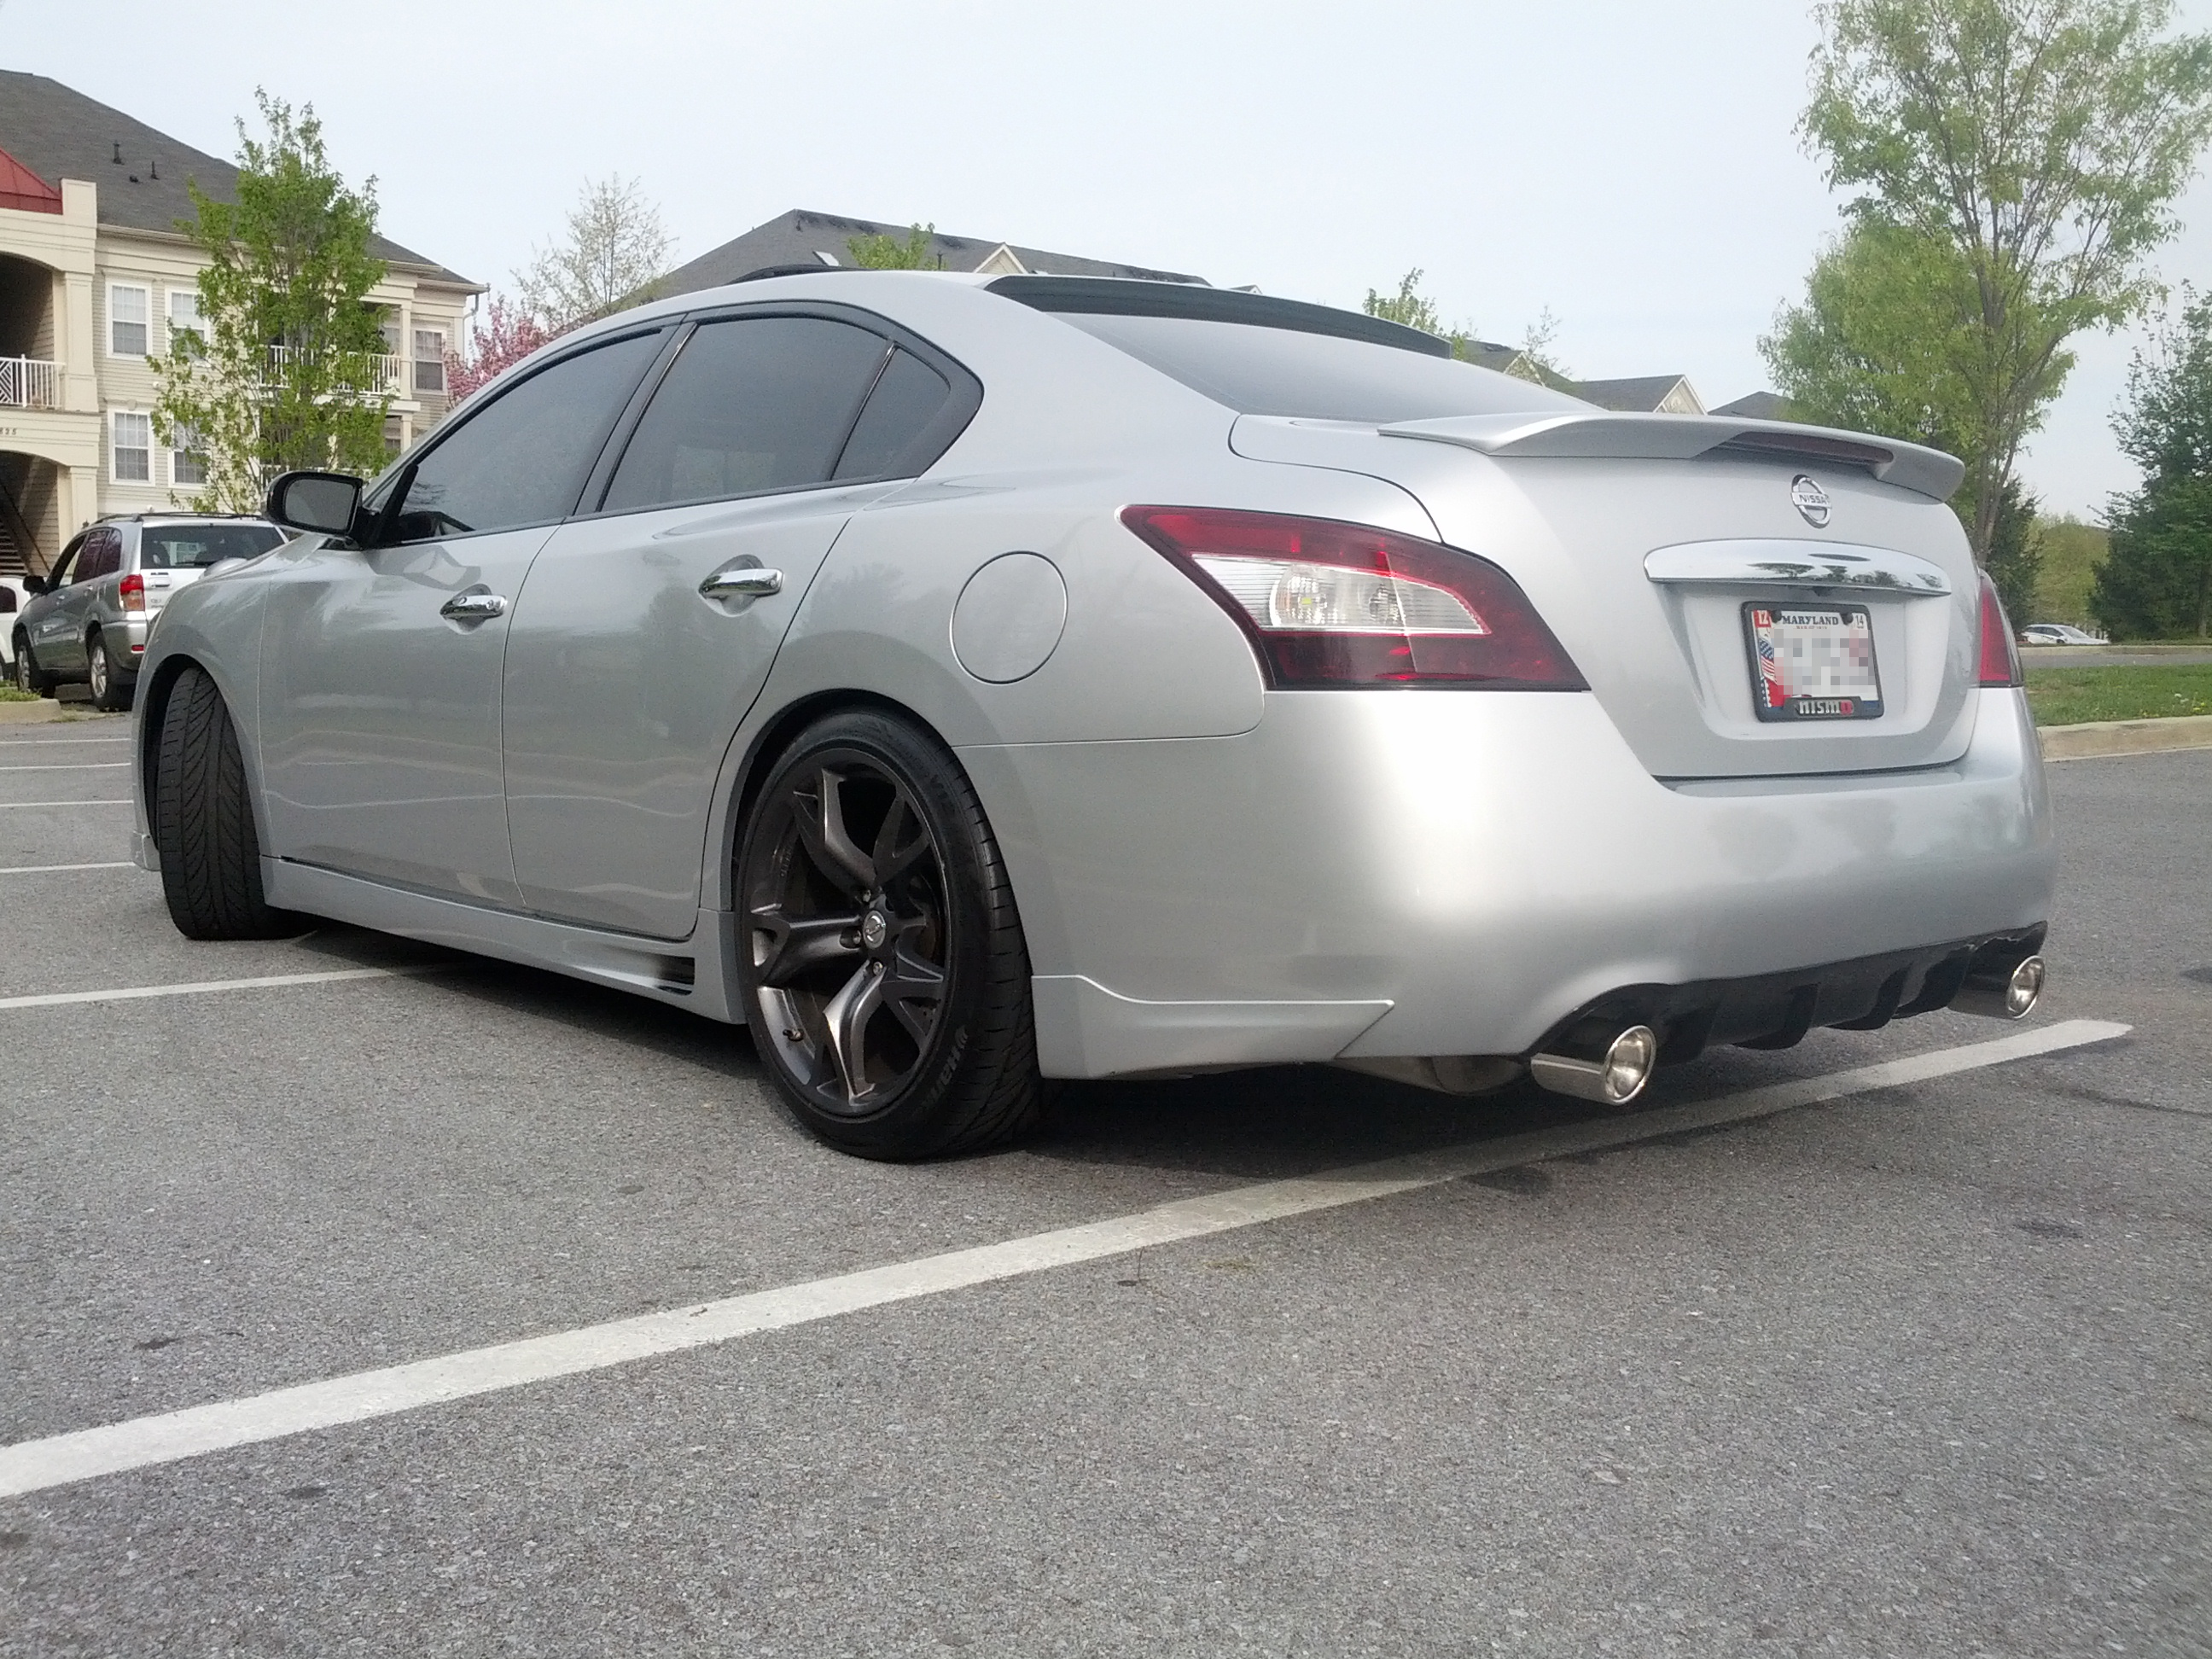
Moncef Faik’s 2001 Nissan Maxima SE
This Maxima has made significant progress over the course of the past few years. Initially working on a college student budget, the car began life with its current owner as a completely factory spec Anniversary Edition Maxima. Completely stock, with the 3.0L VQ30 engine. Initially, this car was intended to be an everyday car, but soon turned into a performance experiment. Modifications began with an Exedy OEM clutch & Fidanza lightweight flywheel, and a JWT intake.
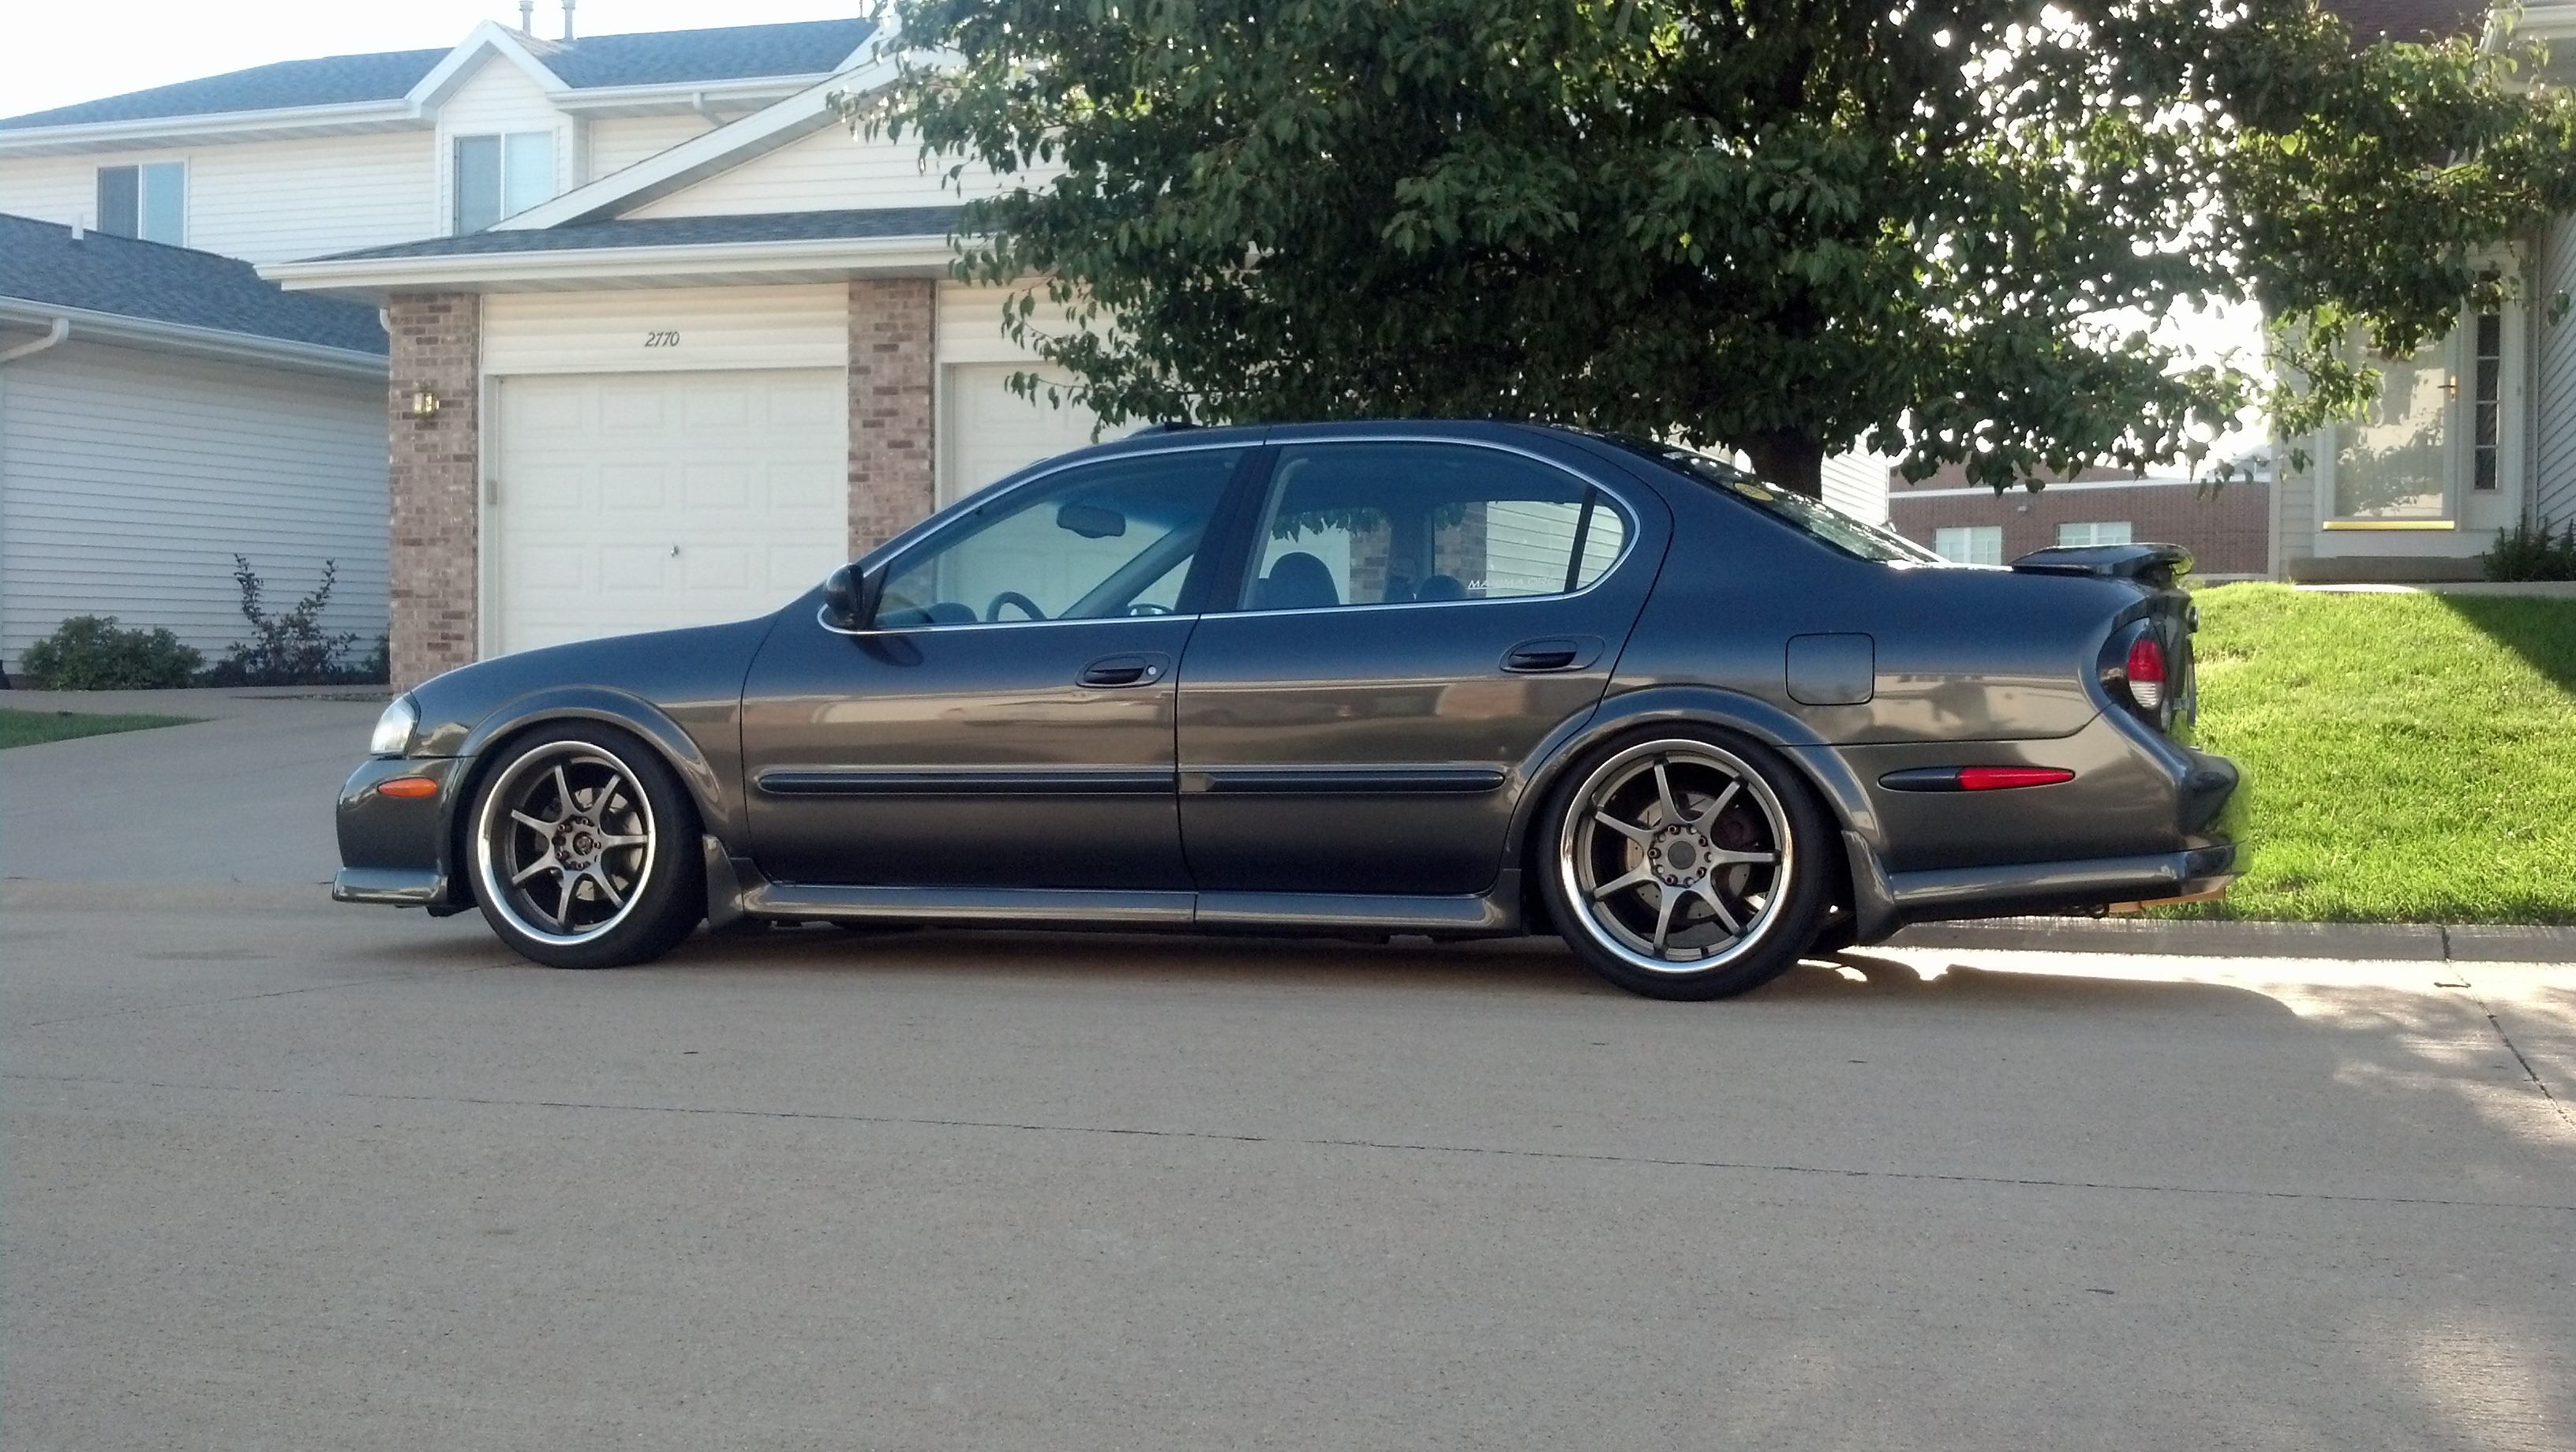
Moncef Faik’s 2001 Nissan Maxima SE
Afterwards came the v2OBX headers and Cattman exhaust. This was during the time that tuning the ECUs on these cars was a difficult task due to the lack of support. A GReddy e-Manage Ultimate was installed and has been the primary tuning tool for this Maxima. After the basic bolt ons were done, modding got very serious. Coilovers and G35 wheels followed, along with other small touches such as varying stereo equipment and HID setups, and finally the JWT S1 cams. The owner wanted to get the absolute most he could out of the 3.0L platform without swapping to a VQ35, and it was done using the S1 cams, VQ35HR valvetrain and ported heads, along with an 82mm MAF and larger 3″ Cattman exhaust, allowing this engine to make 250whp @ 7500 RPM on a Dyno Dynamics dyno.

Moncef Faik’s 2001 Nissan Maxima SE
The Exedy clutch started to slip, and at that point it was decided to swap to a VQ35. The VQ35 would use the existing 3.0L heads to bump the compression to ~11.8:1, and the bottom end was bored out to 3.6L. It was also beefed up with ARP main & head studs, rod bolts and ACL Race main/rod bearings for sustained high RPM activity. A gutted VQ35 intake plenum and Pathfinder throttle body sit on top of the engine, connected to the same 82mm MAF used previously. On the cosmetics side, the wheels have been changed to a set of XXR 009s, and the factory headlight housings have been switched to retrofitted projectors. A Pioneer touchscreen head unit and Vip’dOut VIP tray resides in the dash (James Church @ vipdout.com was a huge help with this). The car is awaiting a proper dyno tune and some smaller pieces to finish it off. This was an ultimate R&D project and far from an off the shelf setup in its current and previous forms.
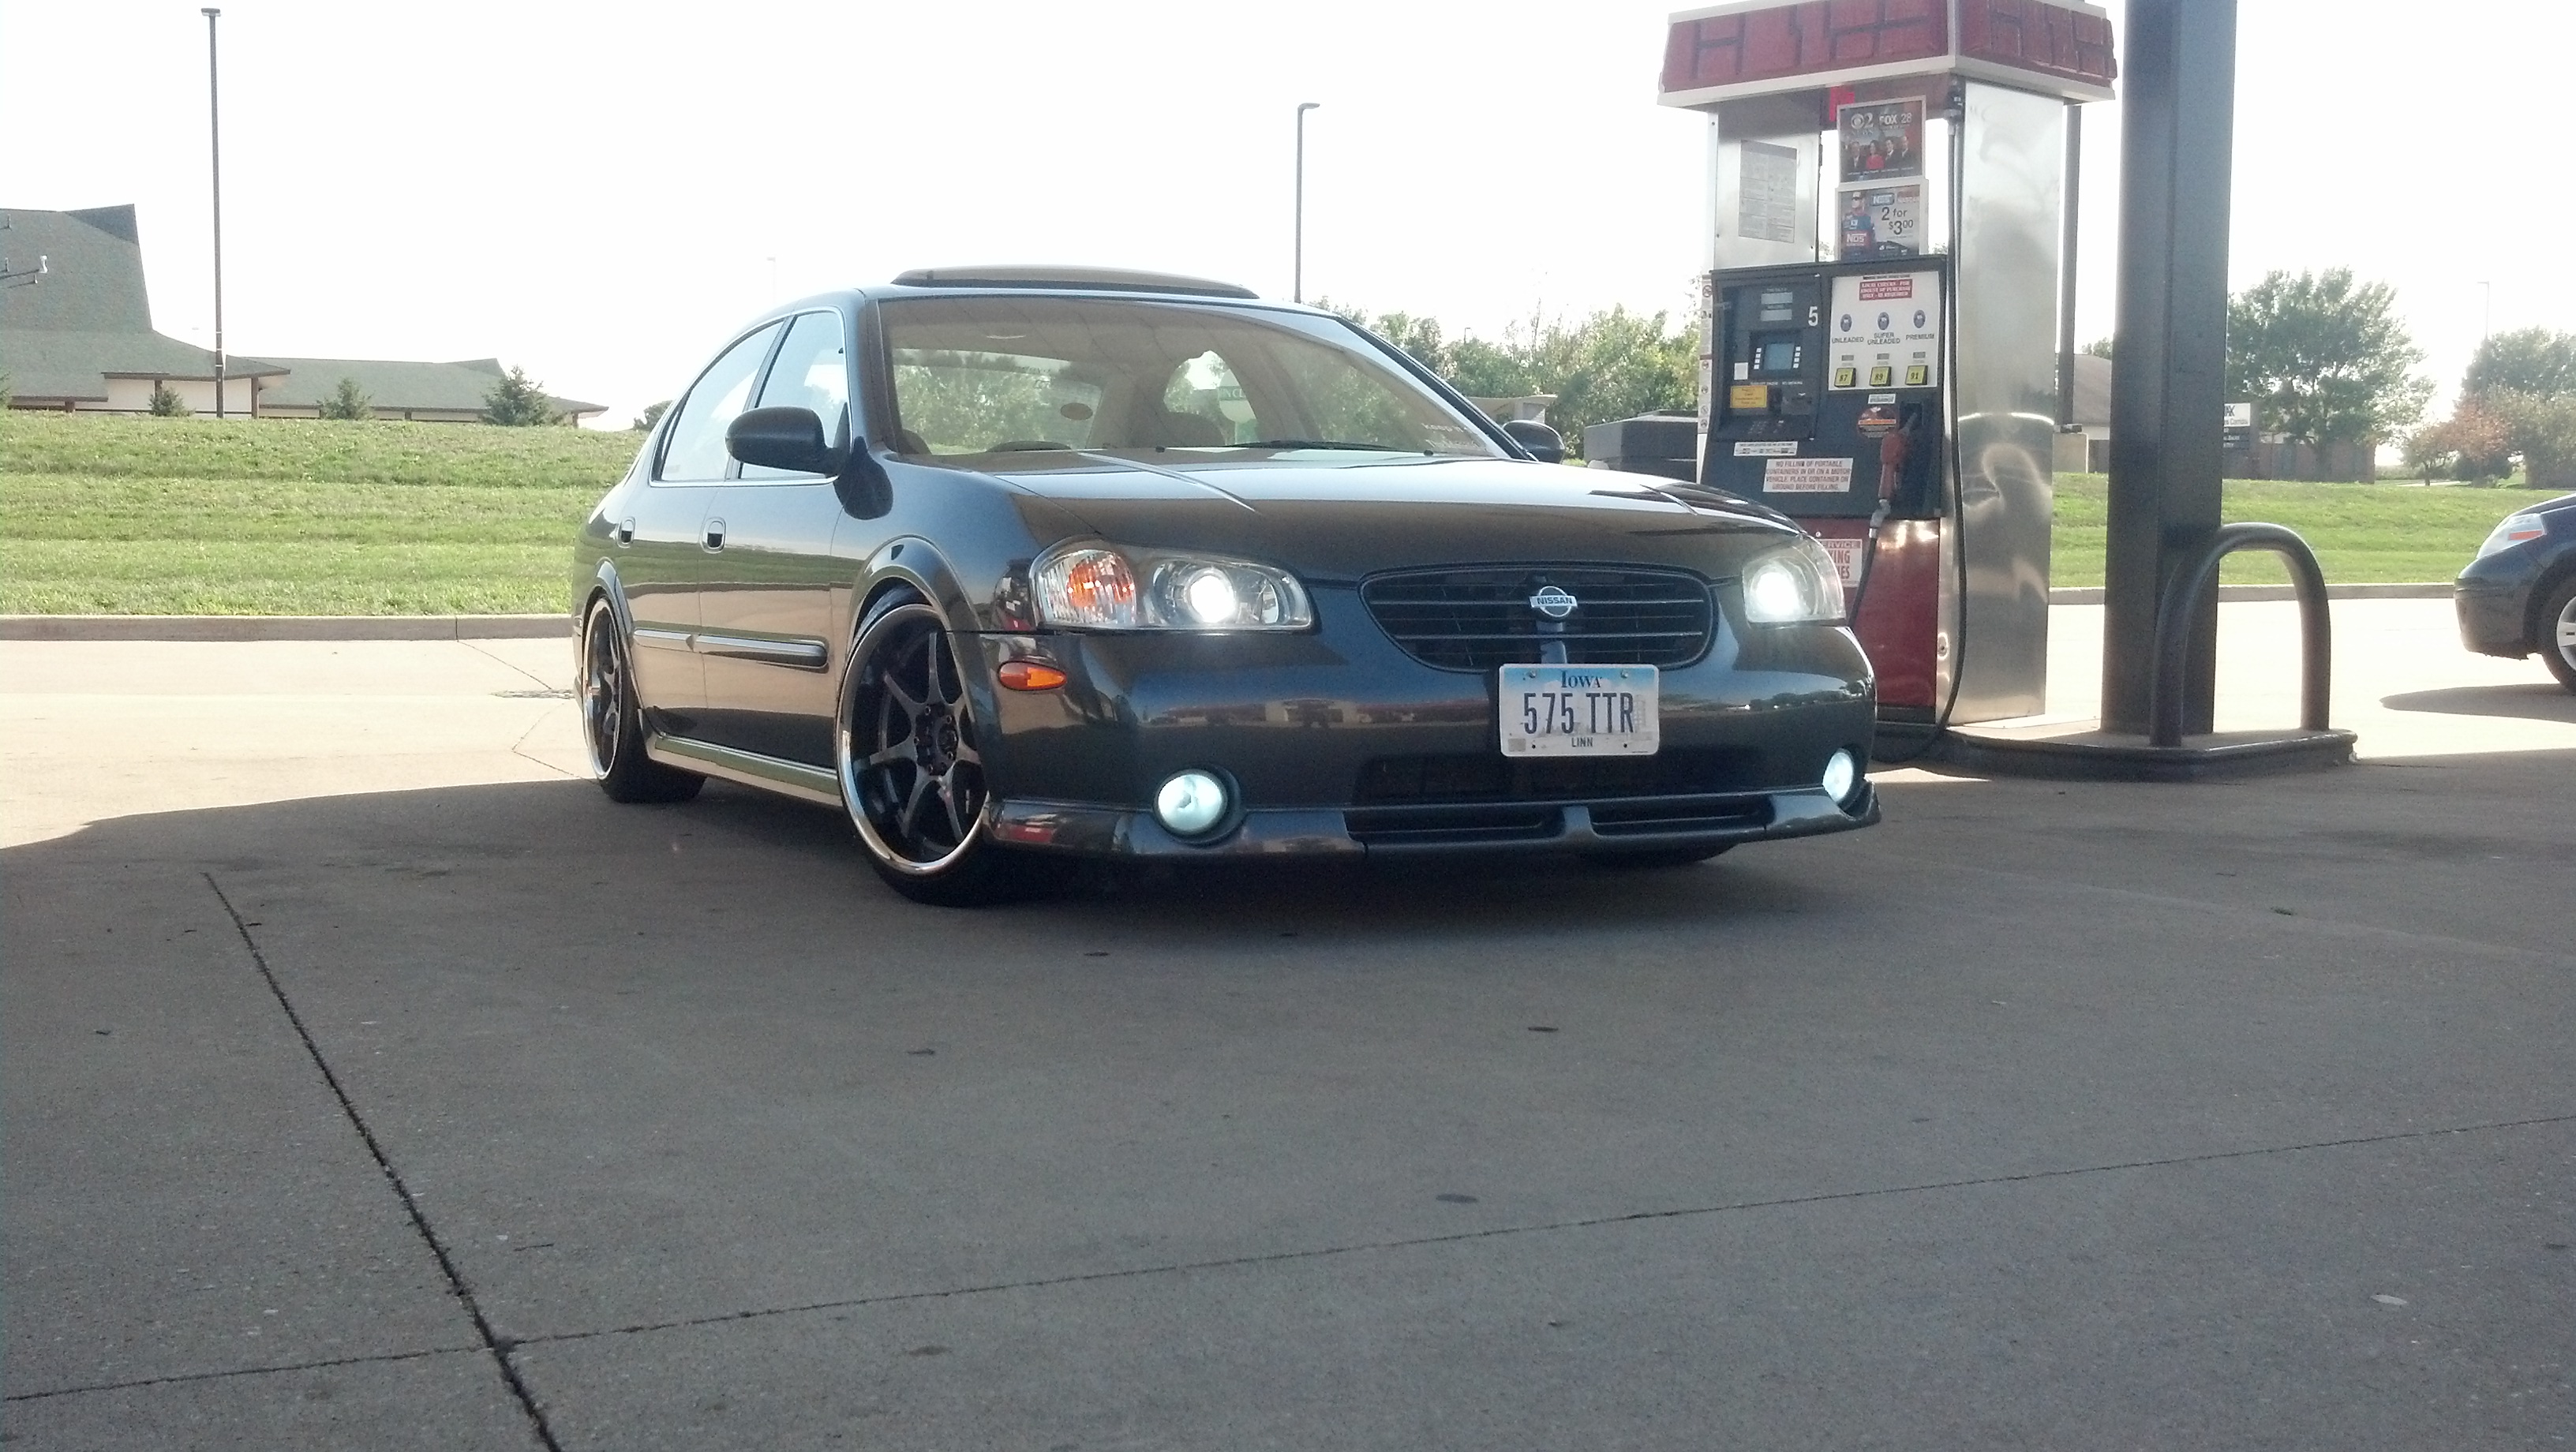
Moncef Faik’s 2001 Nissan Maxima SE
Mods:
- VQ35DE block, stock pistons and rods – bored 40 over.
- ACL Race main bearings & rod bearings
- ARP head studs, main studs, rod bolts
- Polished 350Z crankshaft (same as A33 model)
- Ported/worked 3.0 heads with JWT S1 cams and HR valvetrain (compression ~11.5-11.8)
- SSIM, PFTB, 82mm MAF
- e-Ultimate/AEM wideband
- v2OBX/equal downpipe
- 3″ testpipe/3″ Cattman
- STOCK 5MT, Exedy stg2 clutch , Fidanza flywheel
Check out some videos on Moncef’s YouTube page located @ youtube.com/monceffaik
Heat
You may consider it your enemy, it has definitely been responsible for more than a few oddly shaped pistons and blown head gaskets. The fact of the matter is that heat is simply energy, it works both for us and against us. A tremendous amount of heat is generated from the combustion process and put to work, the more we can harness the more efficient our engine becomes.
Approximately 1/3 of that heat is wasted through exhaust gas ( which can be utilized by turbochargers, but that is another story ) approximately another 1/3 is actually used to drive the piston downward and get the job done. The remainder of this heat energy is radiated outward from the cylinder and your cooling system is designed to transfer that heat to your coolant and pass it through a heat exchanger to keep engine temperatures in check.
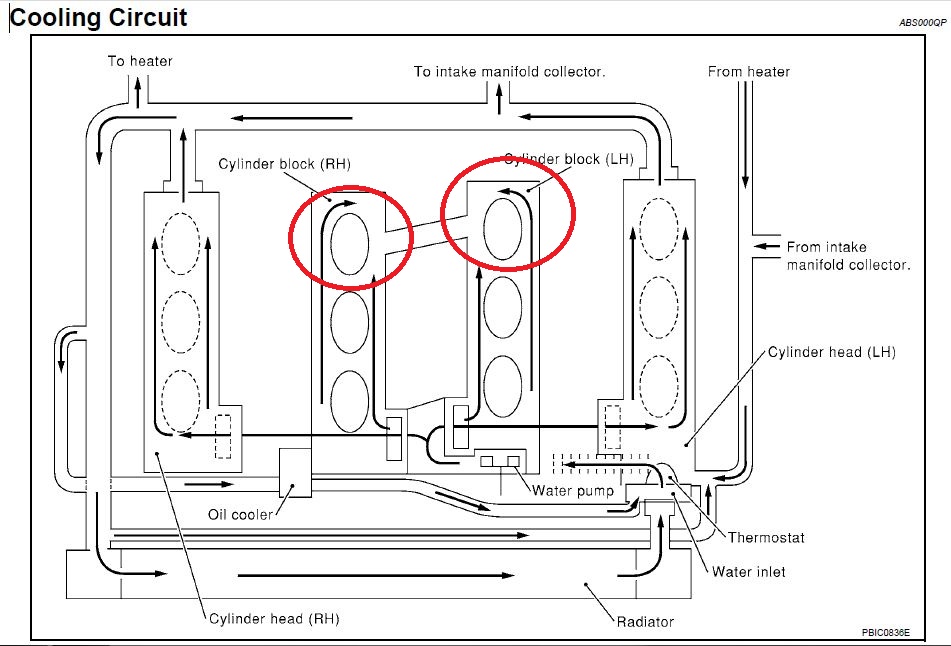
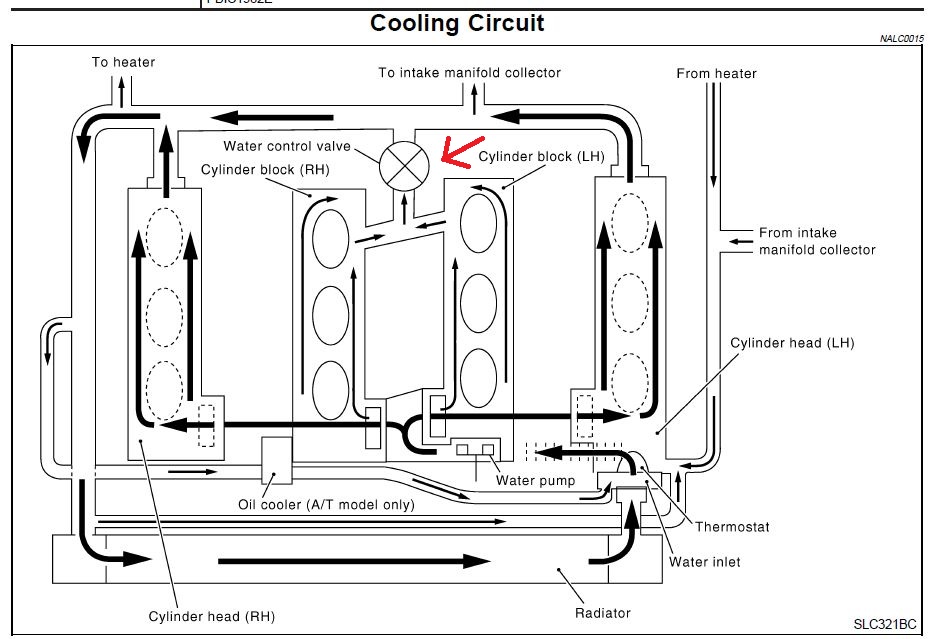
Z33 cooling circuit
This is the cooling circuit diagram for the VQ35 straight from the 03 350Z factory service manual. One look at this diagram will tell you that this aint your granpappy’s ol’ small block. Shortly after the 350z was released, aftermarket performance parts came pouring out of the woodwork to support enthusiasts.
Before you knew it there were big time turbo kits and high powered engine builds to the tune of 600whp. It was then that these tuners began to see the apparent downfall of the cooling system for the VQ35 used in the Z33. In this diagram you will see the rear cylinders ( #5 and #6 ) circled in red. If you follow the flow chart from the water pump you will see that coolant flows into the engine from that point, up through the heads and into the engine block. Coolant flows from the front of the head to the rear and exits through the water pipe connected to both sides.
The block on the other hand is another story, the coolant flows from the front of the engine to the rear cylinders and has nowhere else to go. I’m not about to call out Nissan engineers (although I’ve had cause to curse them in the past) because under normal and even spirited driving conditions the factory cooling system will keep engine temps manageable. However, under heavy load conditions such as a long highway pull on a high powered engine or pulling lots of weight uphill, coolant flow to the rear cylinders is insufficient and can lead to troublesome or even catastrophic engine failure in the form of blown head gaskets or over expanded pistons that will have a once smooth cylinder looking more like a funnel.
Pathfinder cooling circuit
Enter the Pathfinder. The VQ35 found in the Pathfinder is only slightly different than the Z33 VQ35, but the one major difference worthy of discussion in this particular post is pointed out in red on this cooling circuit diagram.
If you follow the same flow, from the water pump and into the engine block, you’ll find that the coolant now has a “back door” out of the block where it will meet the other superheated coolant from the heads and return to the radiator. A thermostat is in place between the block and water pipe (shown on the diagram as an X) simply to let the engine reach operating temperature more quickly and reduce emissions.
Nissan engineers saw this one coming during their road tests for the Pathfinder, though they didn’t tune those VQ35′s to unscrupulous amounts of power, they more likely just ran them really hard off road and hauled lots of weight uphill. There’s no telling how many engines they scrapped before they decided on this system, but their loss is our gain.
Many fine retailers have put together “Pathfinder cooling mod” kits that will supply you with the rear coolant pipe, thermostat, hose and plate that you can swap right into your Z33 to greatly improve your coolant flow and safeguard your rear cylinders.
Is it something that your momma needs on her sedan to run to the grocery store? No, but you should give the Pathfinder system as well as other “reliability mods” some consideration if you plan to really put your VQ35 through a beating with lots of boost or serious track time.